
This is just one example of my reference.
My first step after gathering all my reference for both the arm and a sleeve was to line them up in Photoshop and get a decent front, back and top view. I also had to use a different hand as his hand had the fingers altogether and I really needed to sculpt one with the fingers extended.
This is what I ended up with.

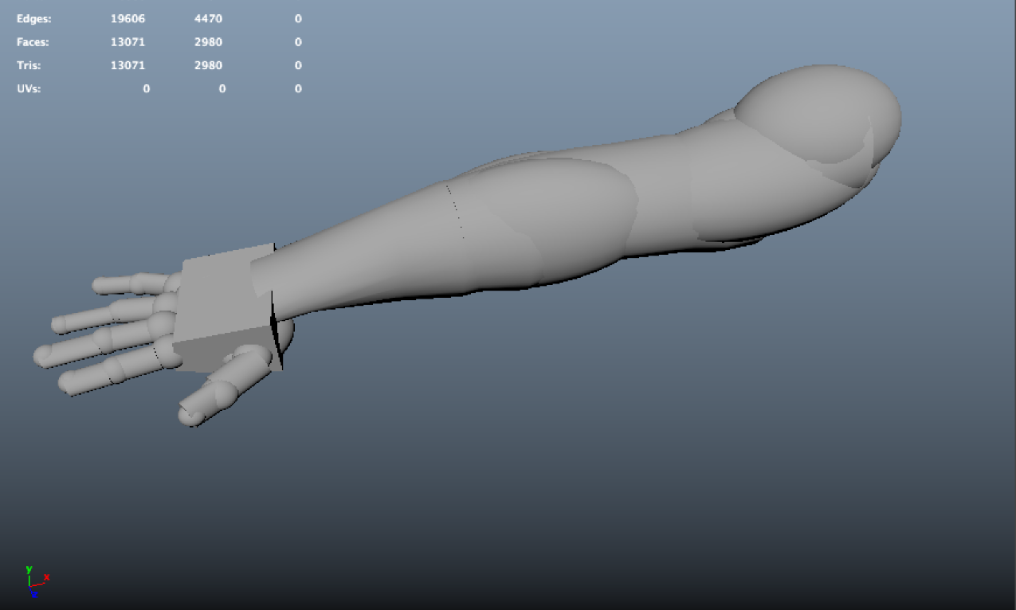
I then took this reference into Maya as image planes and basically just blocked out the arm. I used basic prims (i.e. spheres, cylinders and a square) just so that I could have a base to export into Zbrush. That way I wouldn't have to start from scratch in Zbrush.
The image below is what I exported into Zbrush as an obj.
On to Zbrush.
I used spotlight so I could get all of my reference images on my screen and imported the prim base mesh. After turning it into Dynamesh, I used my reference to tried to get a base mesh that gave me the basic silhouette of Alberto's arm and added a sleeve part as needed.
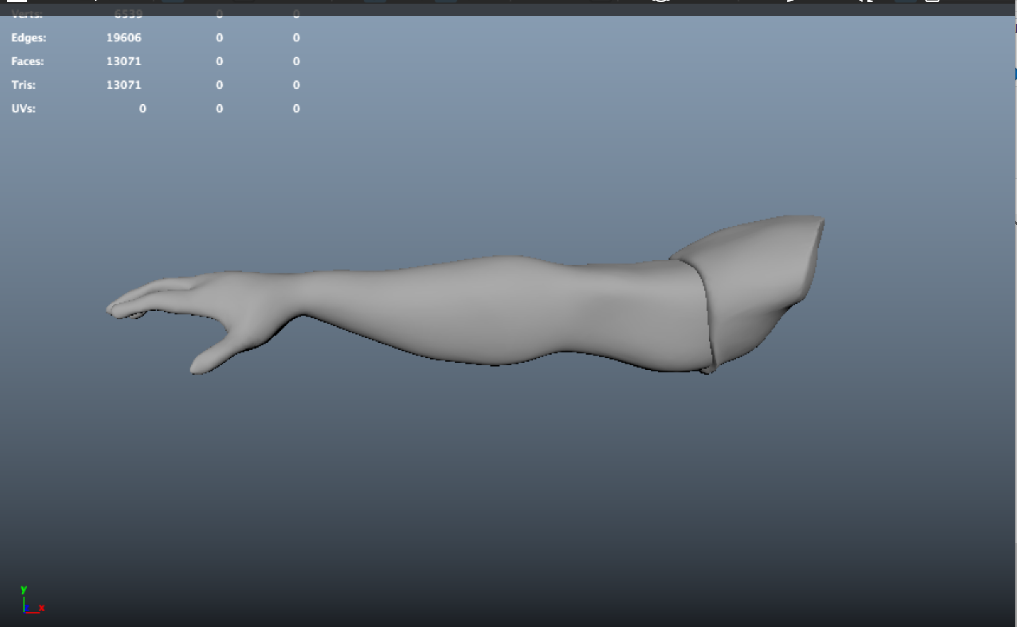
With that done, I made sure to save both of these tools separately and then used brushes to get more secondary details. This included pulling in muscles, making the hand look more realistic and trying to get a silhouette that was more in tune with the reference images. I used pretty much move, inflate, smooth tools to accomplish this. I did find that some of my geometry would cross over and connect, This was really frustrating as in Zbrush you cannot really select geometry and just delete like you would in Maya. I ended up using the lasso mask, selecting it that way, and hiding it, then just deleted hidden under geometry. It probably is the long way around, but it seemed to work.
This is a snapshot of what I ended up with for the secondary. (It probably has a bit too much detail in the sleeve, but honestly trying to get those wrinkles for silhouette was difficult for me.)
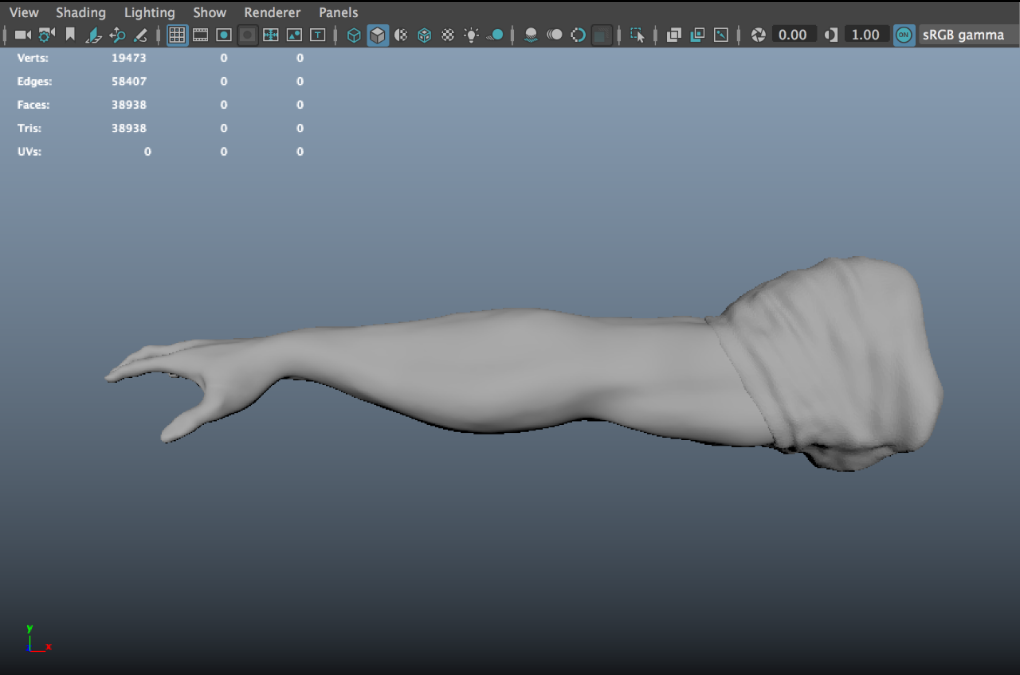
I then used more brushes to really try and get the tertiary details down. I found his muscle structure to be a little different than what my other reference for arm muscles was showing me. Like shown here on my Pinterest.
I just tried to really go off of what I had for reference. I do wish they would have his a TOP down reference image so I could see that, I was kind of sculpting blind when it came to that and not really have done this before made it a bit more complicated than probably should have been.
That and I found the hands infuriating, but I think this is more my own inexperience with using Zbrush that made this harder.
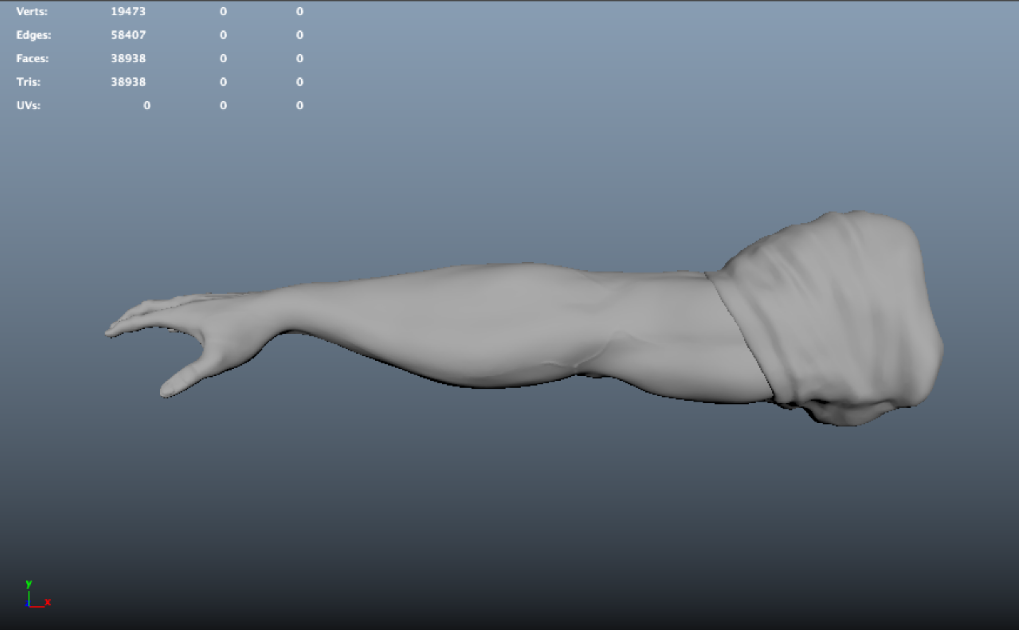
Here is what I ended up with as my Tertiary Mesh.
I then took this model, decimated it using the Decimation Master plugin in Zbrush, making sure to do each subtool separately. I exported each of these as OBJs to go back into Maya.
In Maya, I went ahead and put all my different builds on different layers so I could show my workflow and then took the tertiary and spent many hours resurfacing using the Quad Draw tool and Multi-Cut. I have to say this was an extremely tedious process as I was trying to get the geometry to match with the topology of the tertiary mesh and probably used way too much geometry to accomplish this. Had I do it this all over again, I would probably just make the squares WAY bigger and save myself hours, if not days, of aggravation. I also used relax to really try to get the quads to be more uniform across the mesh builds.
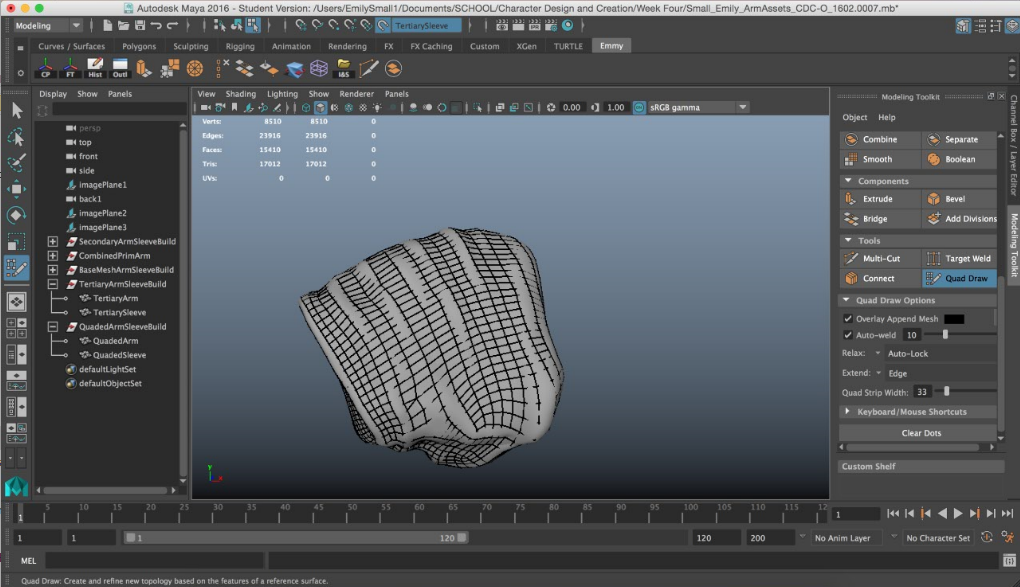
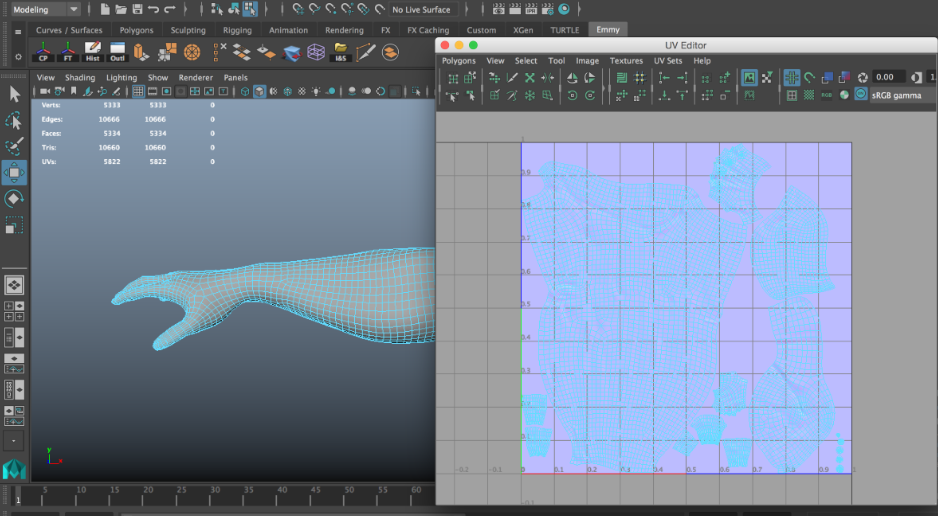
Another thing that I found was that my geometry had spirals everywhere because I was trying to follow the form instead of making it more UV friendly. Which goes onto to me using the Bonus Tools - Auto Unwrap UVs Tool in Maya. I used this because it pretty much lets you select the edges you want to have as your border and just hit one button to get that. So, making UVs seemed pretty easy, until I realized that my edgeflow was a garbled mess. So, my UVs got down, but they were a bit on the strange side.
One thing I'd probably do differntly is cut my hand in half instead of breaking the fingers away from it. Which leads me to my Transfer of Maps frustration. There was two different into I had with this. First was that it seems that somehow my normals for my fingers flipped, so my first render turned out like this.
This really baffled me for awhile until I ended up reimporting my mesh from Zbrush and flipping the normals on my Quaded Mesh arm.
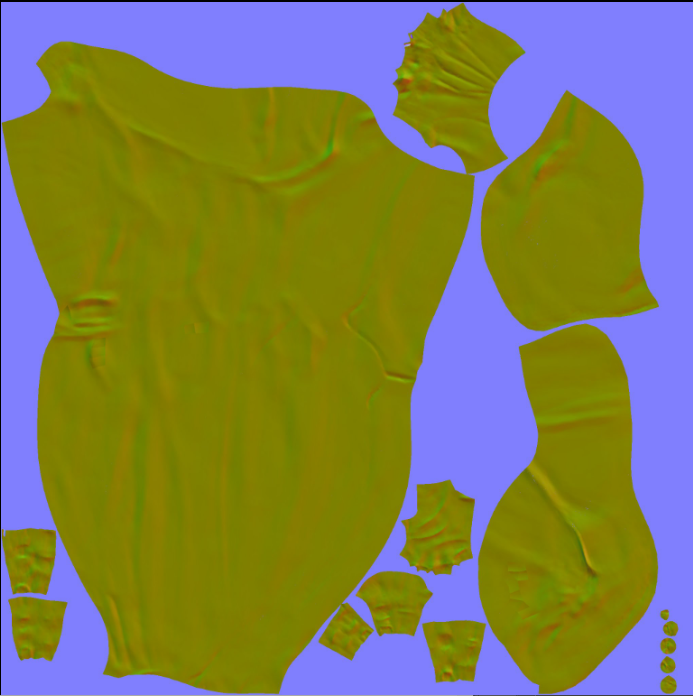
This created the next issue. When I was baking all of my normal maps for my arms were inverted.
I ended up running to the Google hangout to get help because after checking all my settings and running multiple Transfer Maps, I couldn't figure it out by myself. It ended up being that during my first issue I must have imported two of my tertiary meshes on top of each other confusing Maya (and me.)
Also, pushing the TEXTURED button on my Maya Viewport actually lets you see the model with your textures on. I know this sounds pretty like "duh, no kidding Em", but I was so tired after being frustrated that this simple thing was stumping me. I made sure to write it up on my plan so I could remember to do it next time I start a project like this.
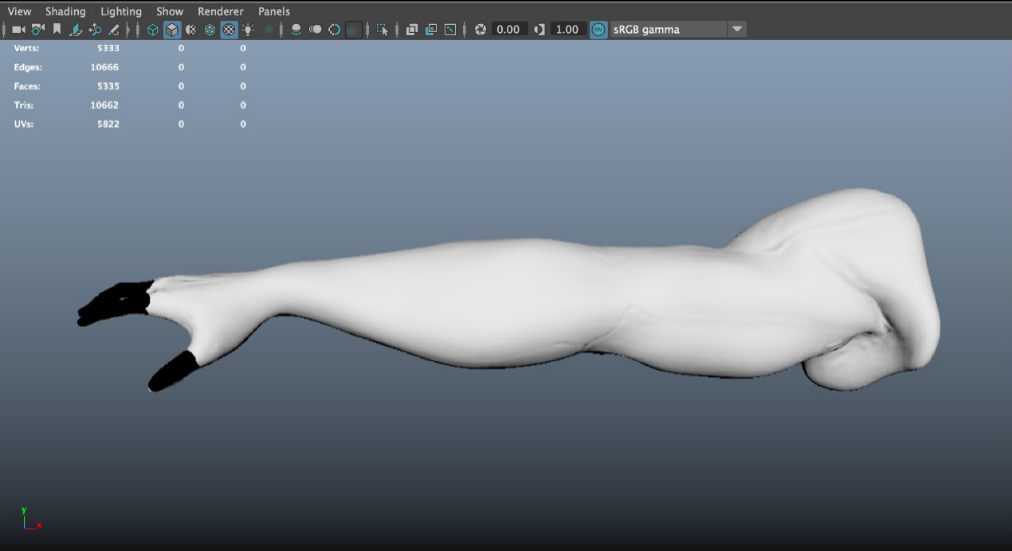
After fixing this issue, I was able to bake on the normal maps just fine and this is how it turned out.
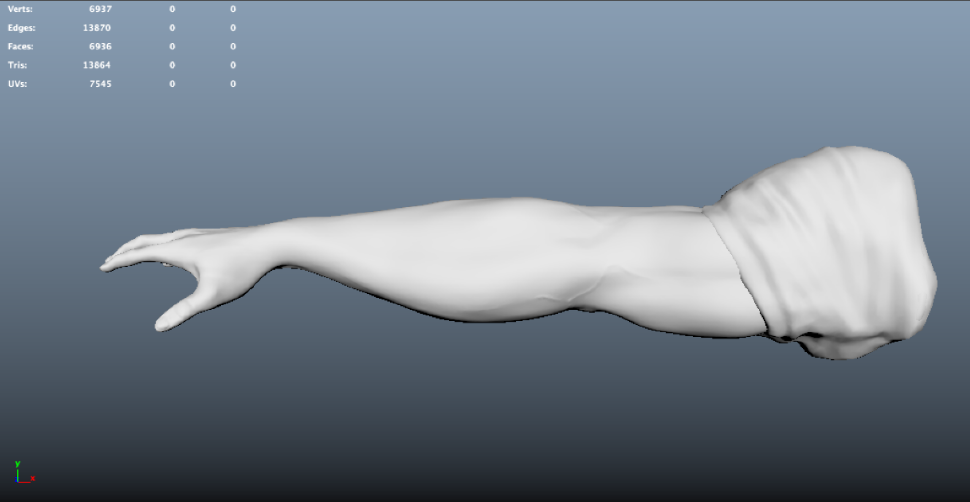
So instead of 64000 faces, I ended up with about 5k. I think the geometry is a bit dense still, but I think it resembles the reference pretty well. I really do hate the hand though.
What do you think?