I wondered..."Is there a way I could save this stack and use these pieces again later?"
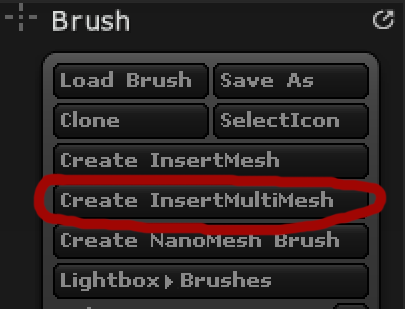
In researching to find the answer to this question, I found the "Create InsertMultiMesh" button under the Brush pallet. This button literally makes your entire project subtool stack available.
To Create one, open the ZBrush application. Under your tool pallet load up a tool that you know has multiple subtools (or you can create one by inserting assets as subtools into a tool you already have open)
(click on image to see larger)
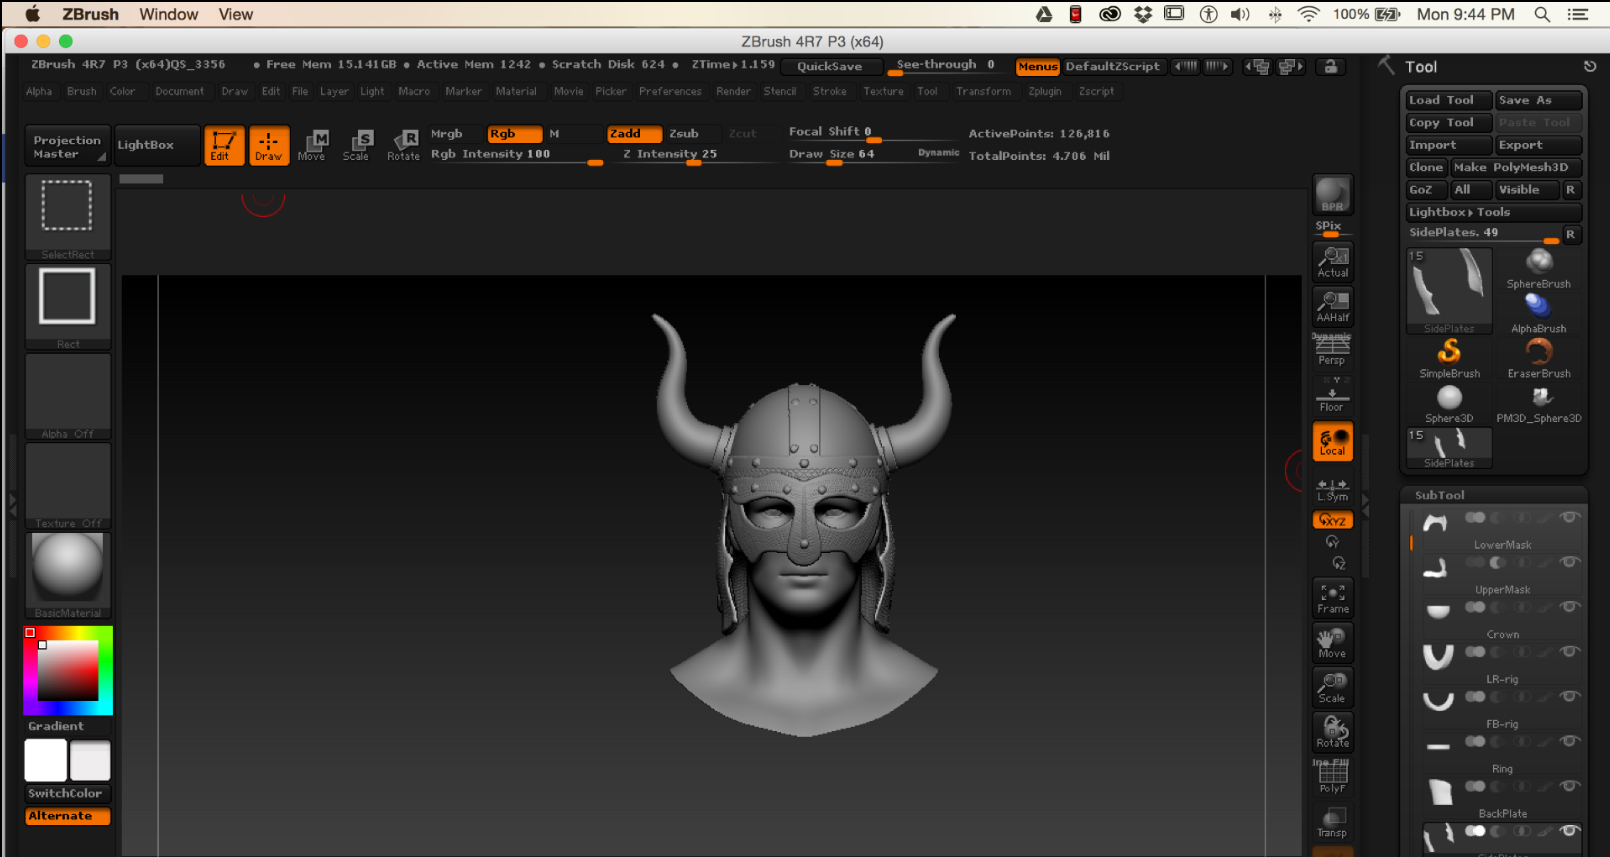
I'm going to use this guy, I created him for one of my second week projects and I like the horns. Plus the helmet has some features that I could use later on.
As you can see he has 15 subtools on him. Okay, this will be a good one to keep, lots of stuff for me to access later!! So, how do we save him?
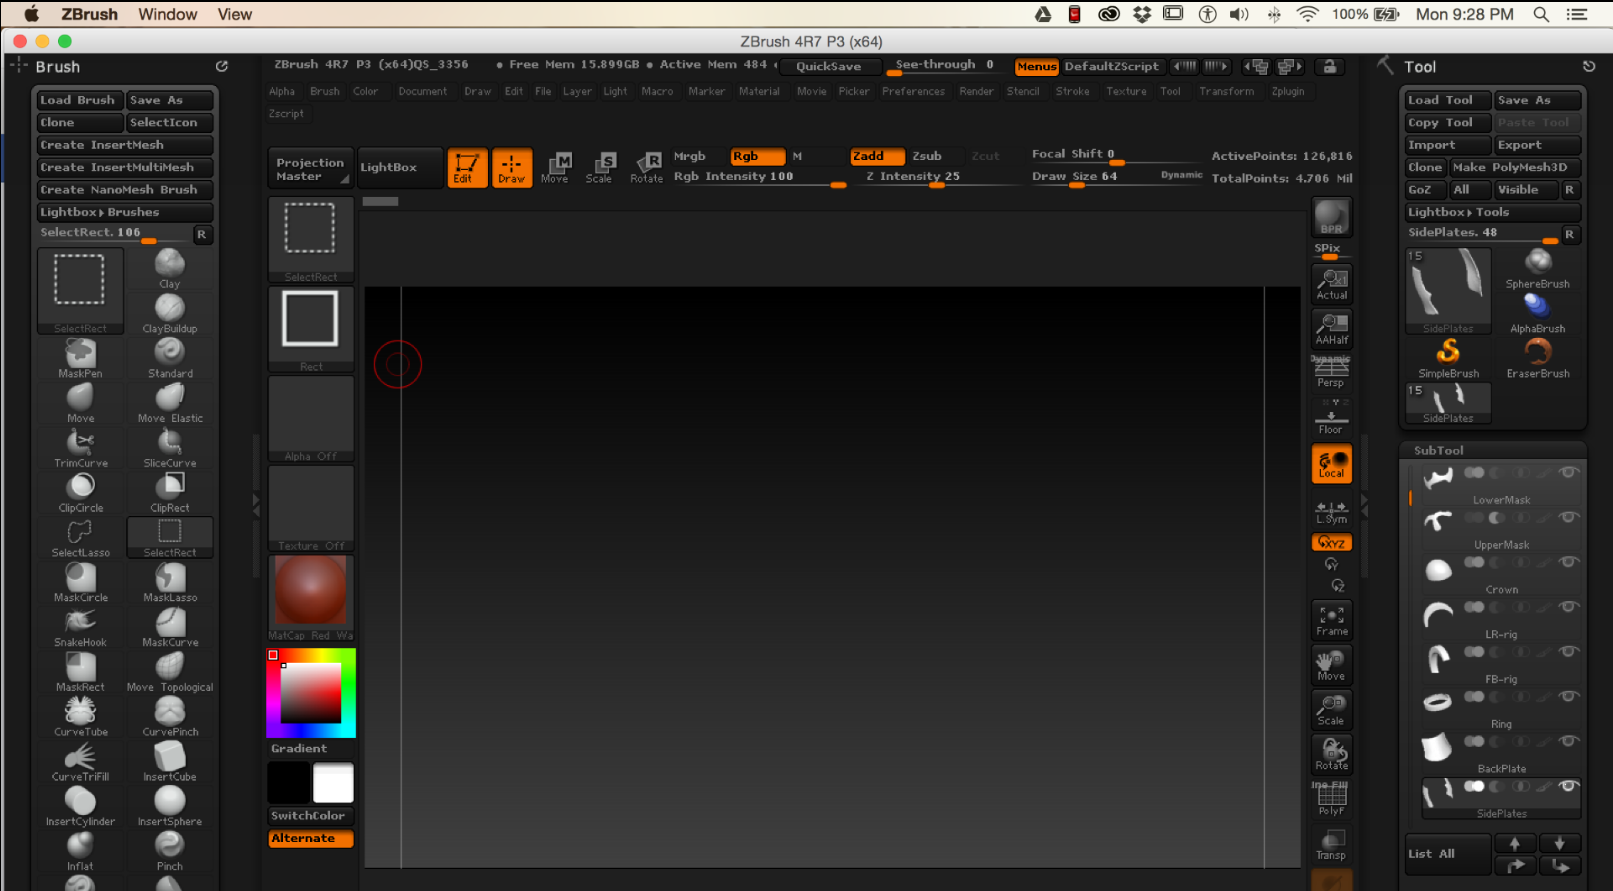
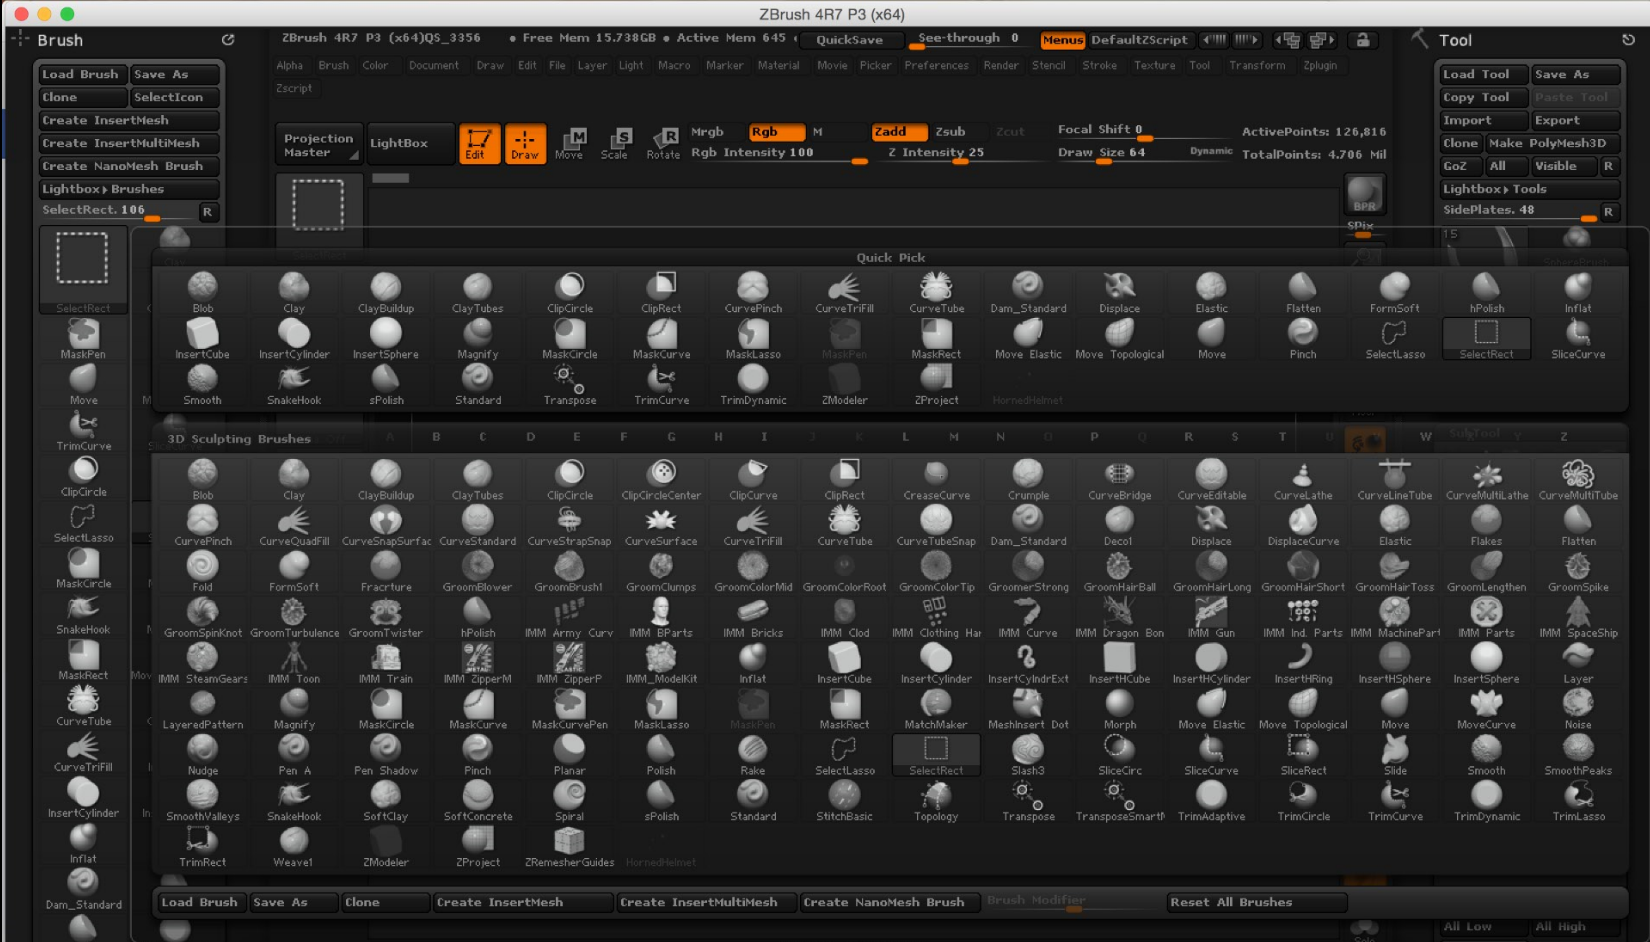
First, I'm going to go ahead and move my Brush pallet over to the left so you can see.
(click on image to see larger)
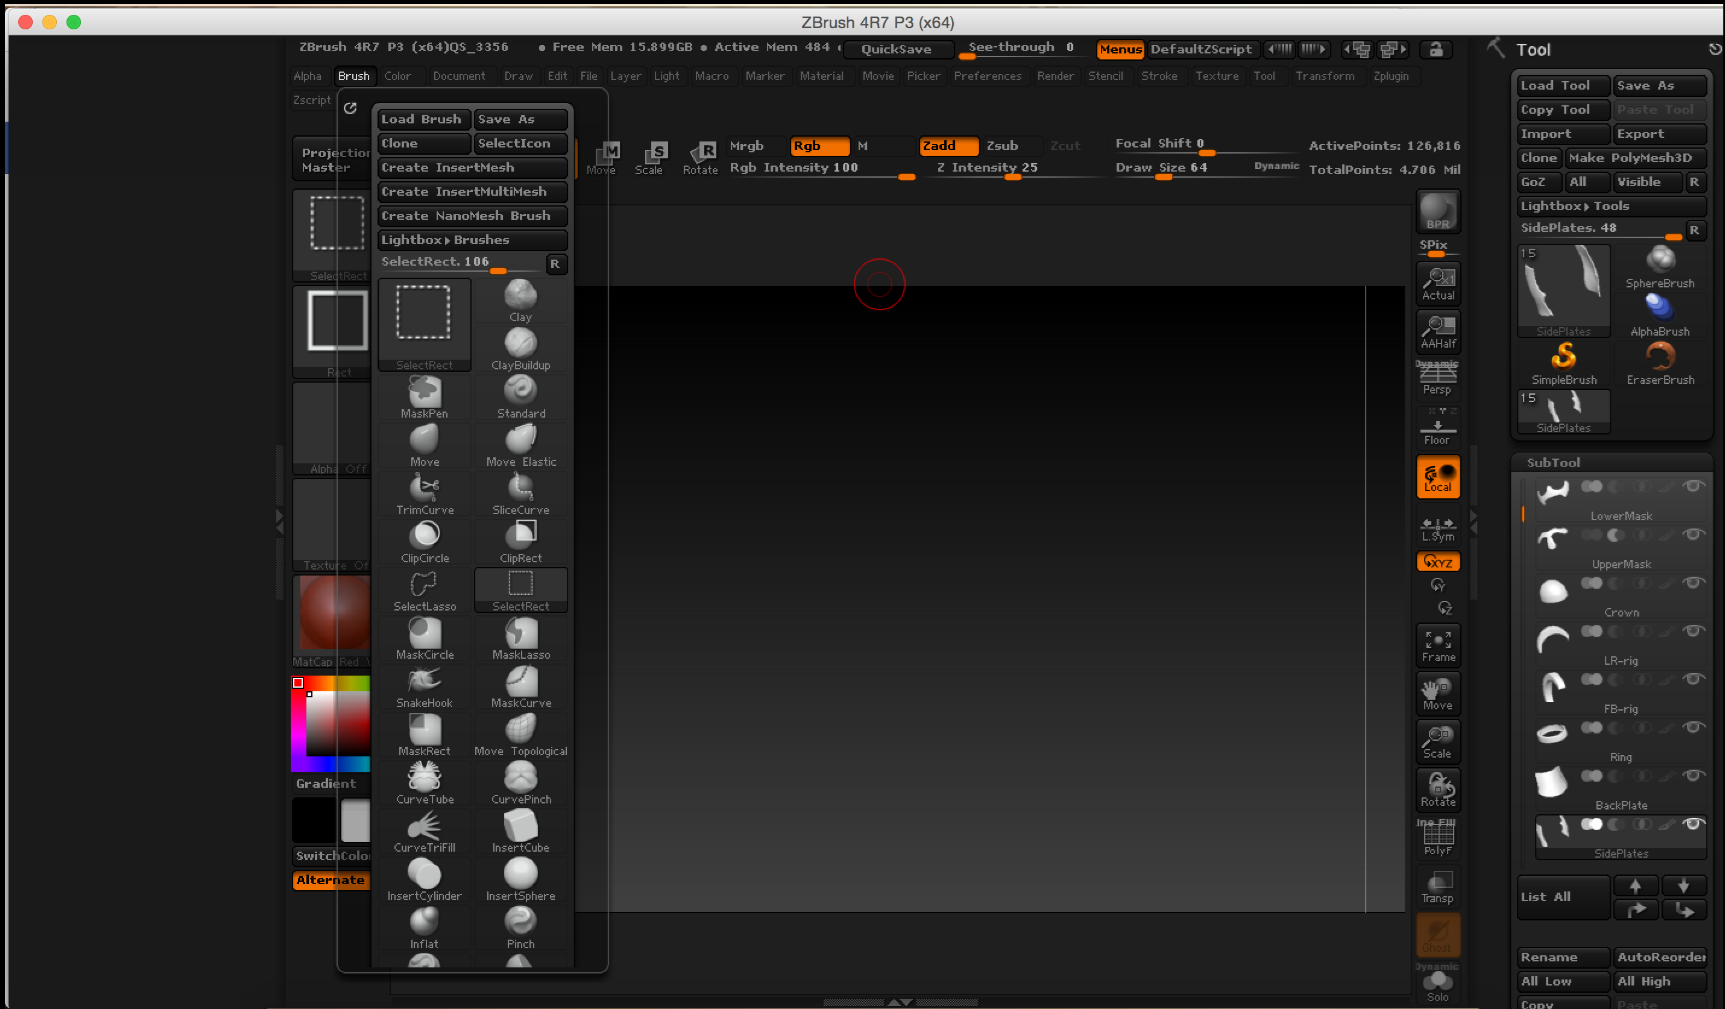
You can do this by click on "Brush" at the top of the screen, and then click on the little "power icon" looking button in the upper left hand corner of that little popup window. Hold down click and drag it over to where you want it, I'm going to put it over there on the left.
(click on image to see larger)
Now that it is over there, we can see all the buttons. Woot! Go Us... we are one step closer to making our new brush.
To save this stack I'm going to go ahead and click on
When you see it pop into the brushes area you know that it completed. You've just made your brush! But okay, you made the brush, so what, how do you save this?
To save this go ahead and click on
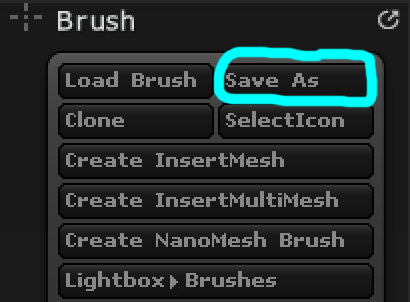
You will then have to navigate to where your brushes are stored for your ZBrush. On my mac they are located in my Applications -> ZBrush -> ZBrushes (I created my own file in this folder so I could keep track of my own brushes and know where they are.)

(click on image to see larger)
Okay, so now we have them saved.
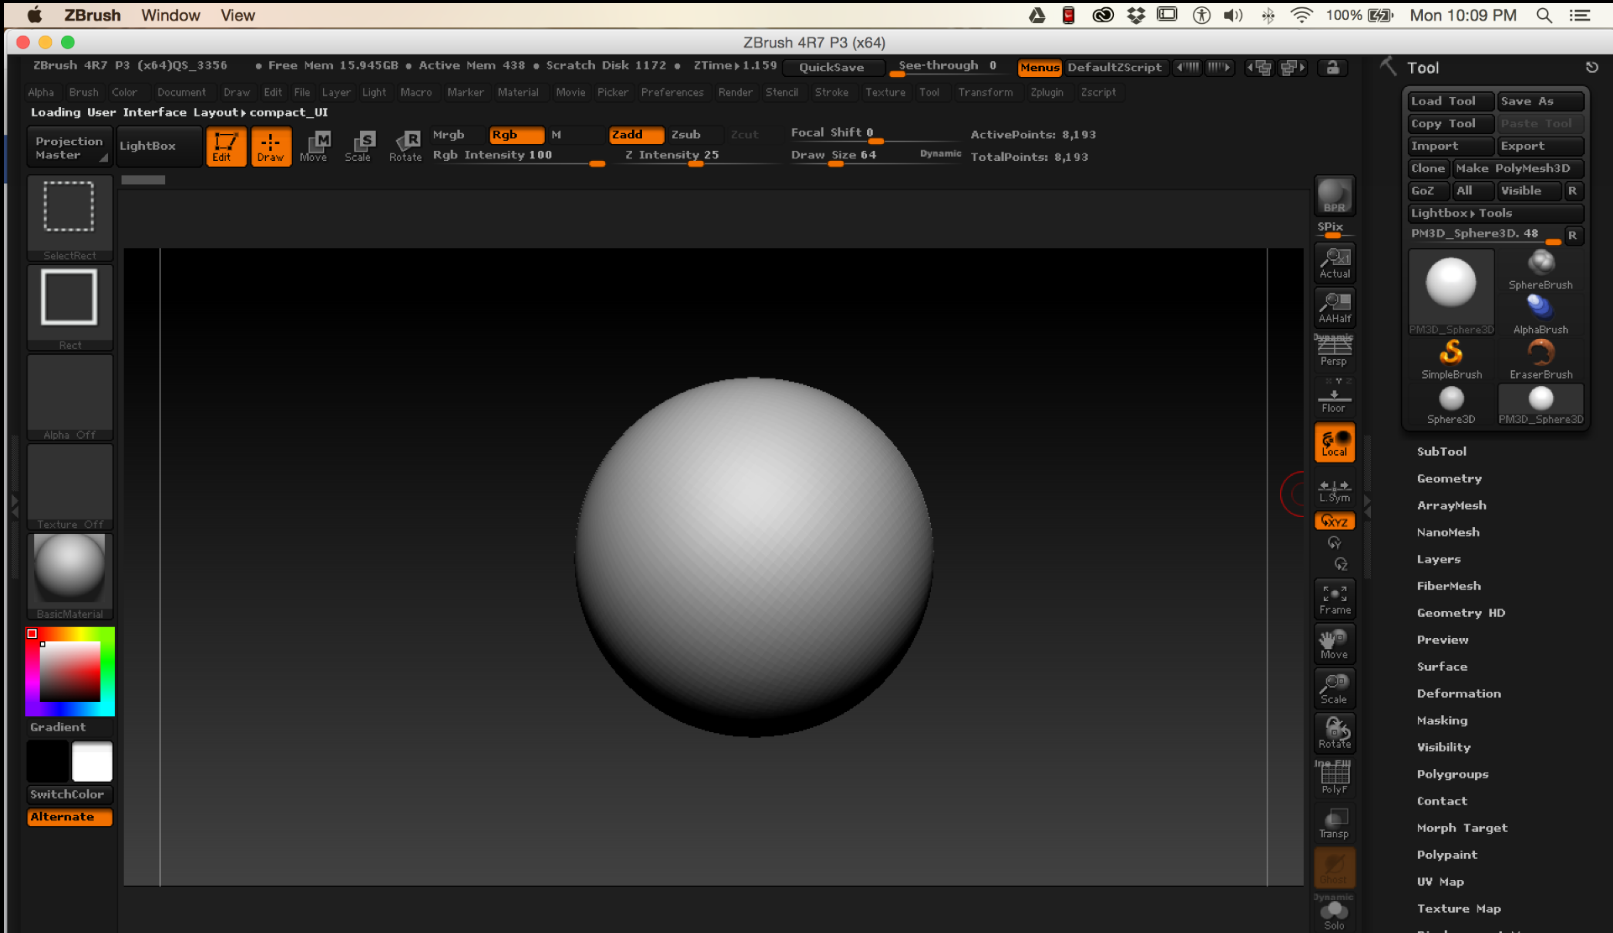
You ask, "So how do we use them Em? Huh? Huh?" Well, first we can go ahead and Initialize Zbrush. Let's get it so it's like we are first starting out in the day.
I'm going to go ahead and just create a PolyMesh 3DSphere.
(click on image to see larger)
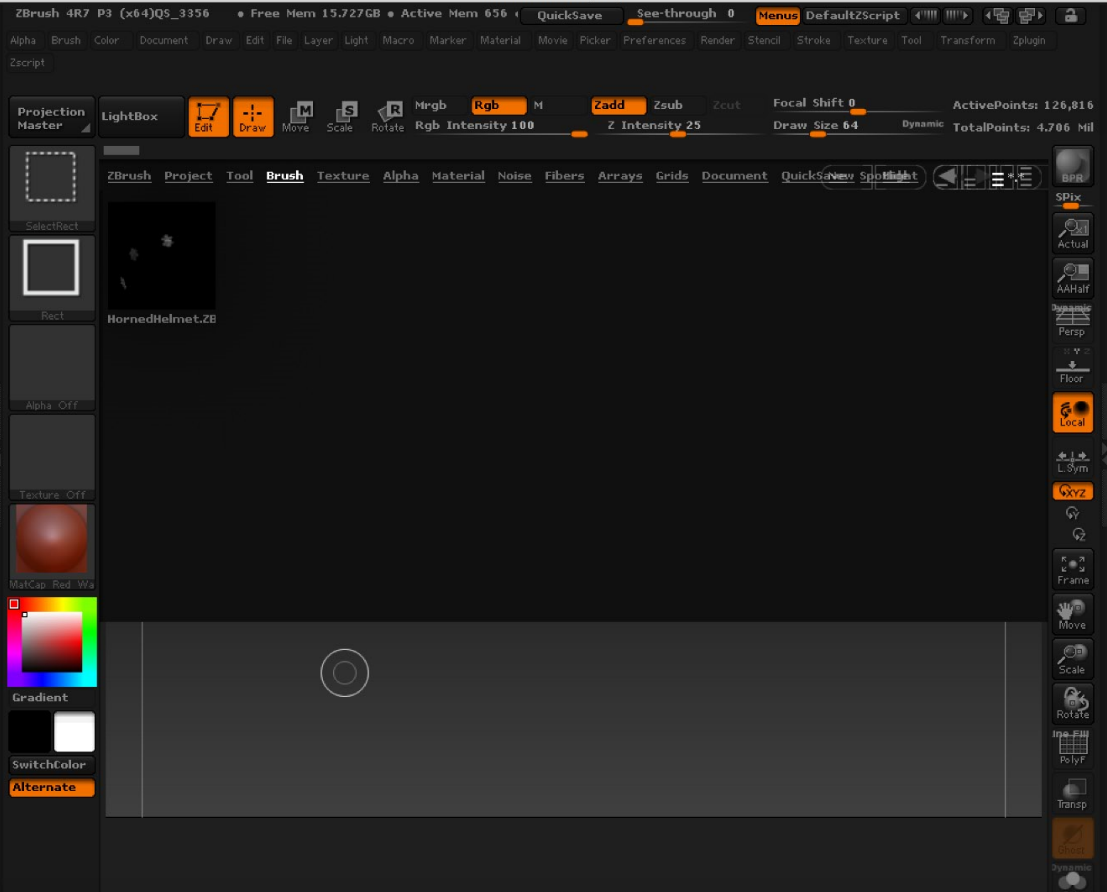
to use your newly created brush, you'll first want to load it up. I do this by opening up my lightbox and navigating to my brushes, then doubleclicking.
(click on image to see larger)
This will allow me to access via the brush menu as I'm working on my new project.
(click on image to see larger)
You can see it above as it is called "HornedHelmet".
Now when I select that brush, I can click on the letter "M" on my keyboard and this will popup.
(click on image to see larger)
I can then "left click" and select the tool I want to add to my new project. I think I'll add some horns to my sphere.
Turning on Symmetry, I'll add the left horn (this will create both the left and right on my model).
This doesn't create a new subtool, but adds to the existing geometry, it does allow you to manipulate the geometry before it does that though.
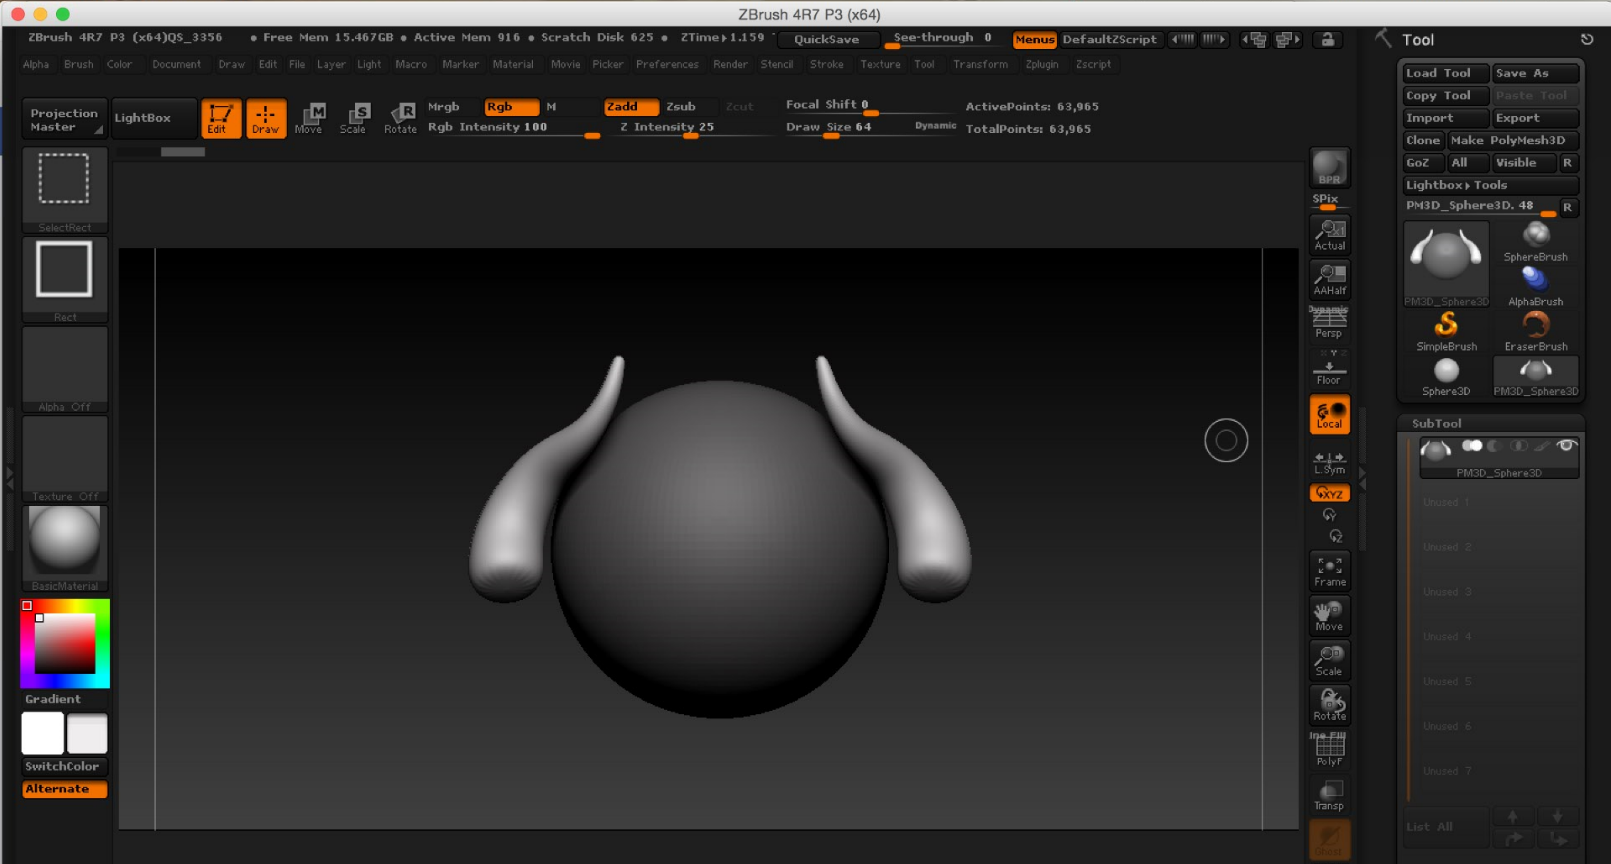
(click on image to see larger)
As you can see in the image above, the rest of my model is masked out until I unmask it, allowing me to change my horns position.
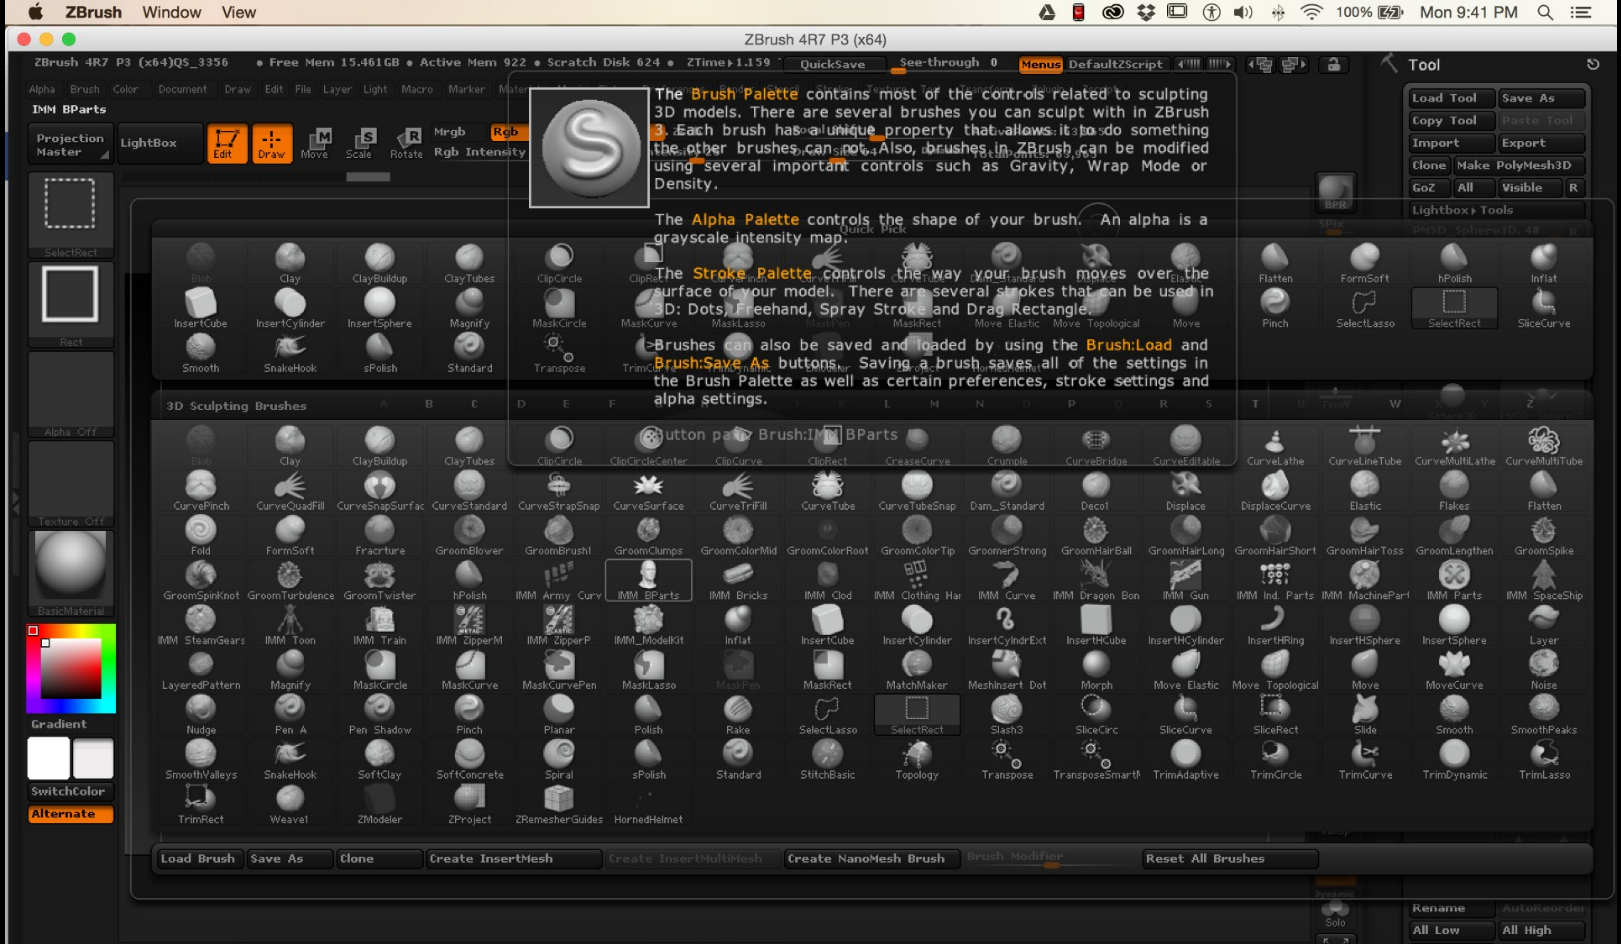
So this is how you use this, you can also use the ones that ZBrush has built in, you can access these through the brush pallet.
(click on image to see larger)
They seem to all start with IMM, maybe I should have named my file IMMhornedHelmet, I'll ponder that later.... lets add a body part to our sphere shall we?
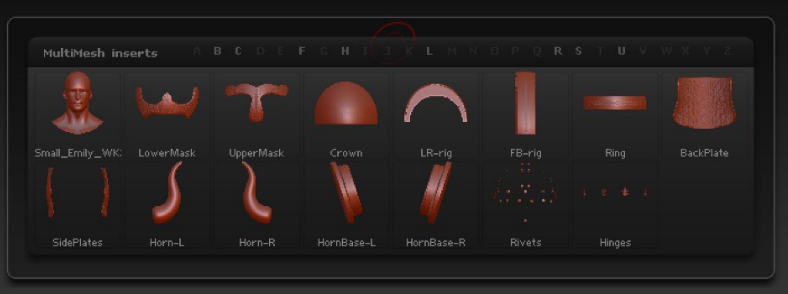
Clicking on the IMM BParts Brush and accessing the MutiMesh Inserts Menu, I can see there are quite a few to choose from.
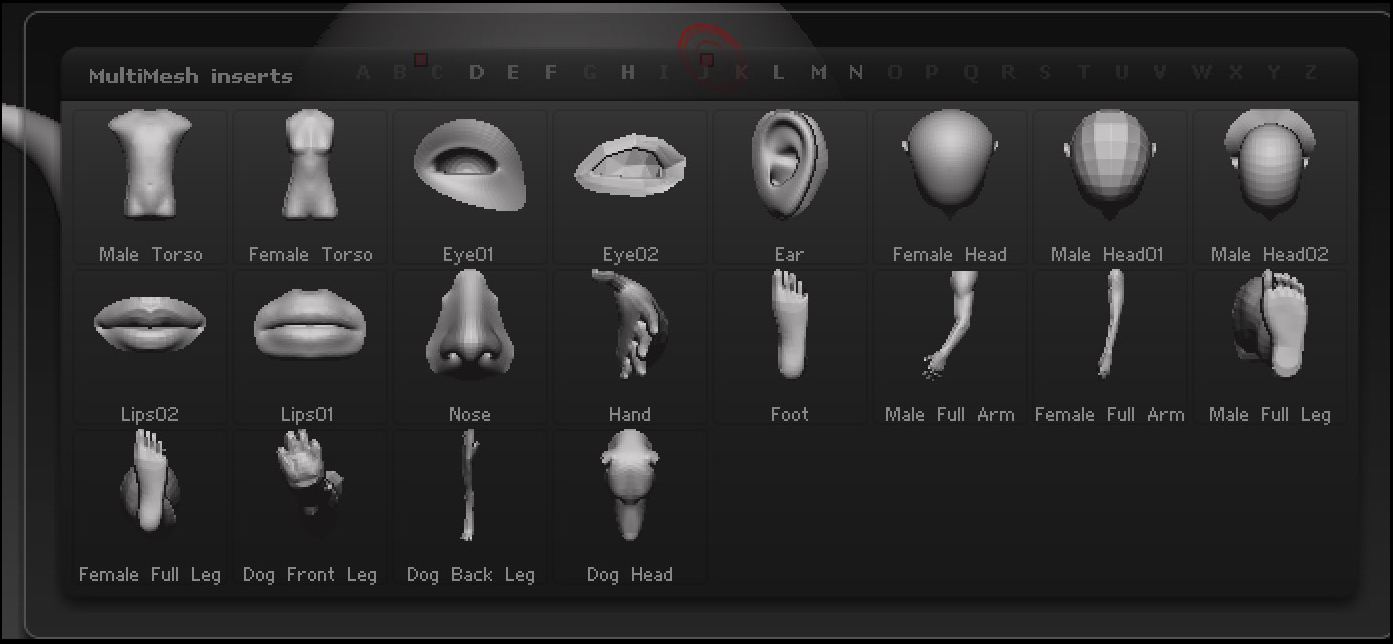
(click on image to see larger)
Let's give our sphere a nose!
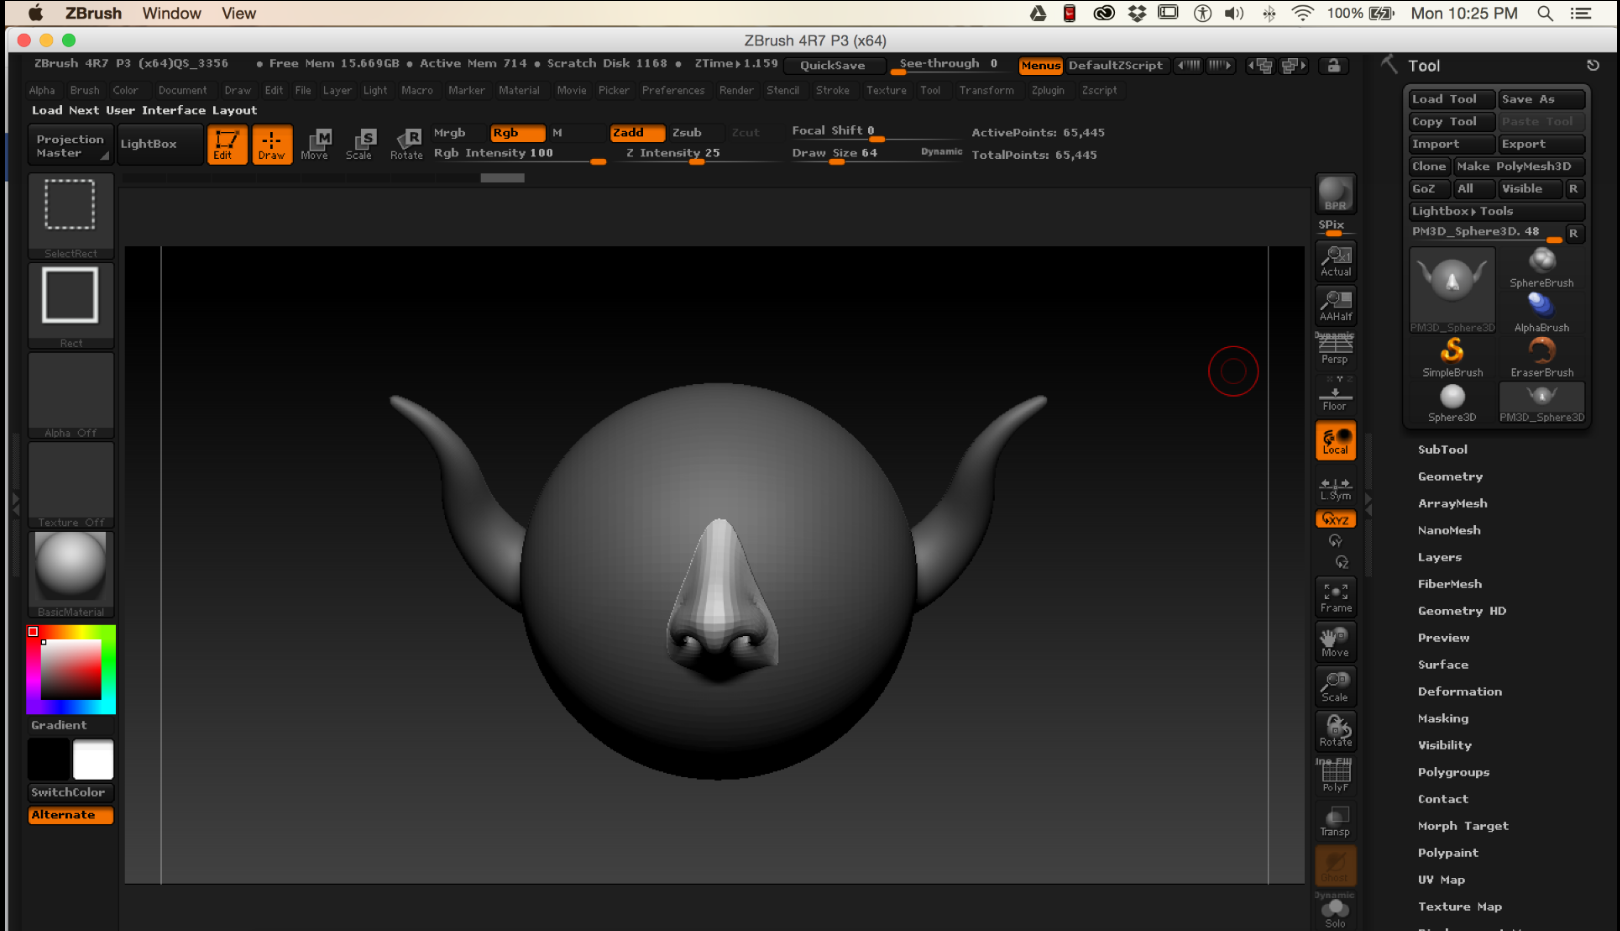
(click on image to see larger)
Oh, one last thing. even though they aren't separate subtools, These do come in as separate poly groups, which you can cmd/shirt click on to select individually and manipulate.
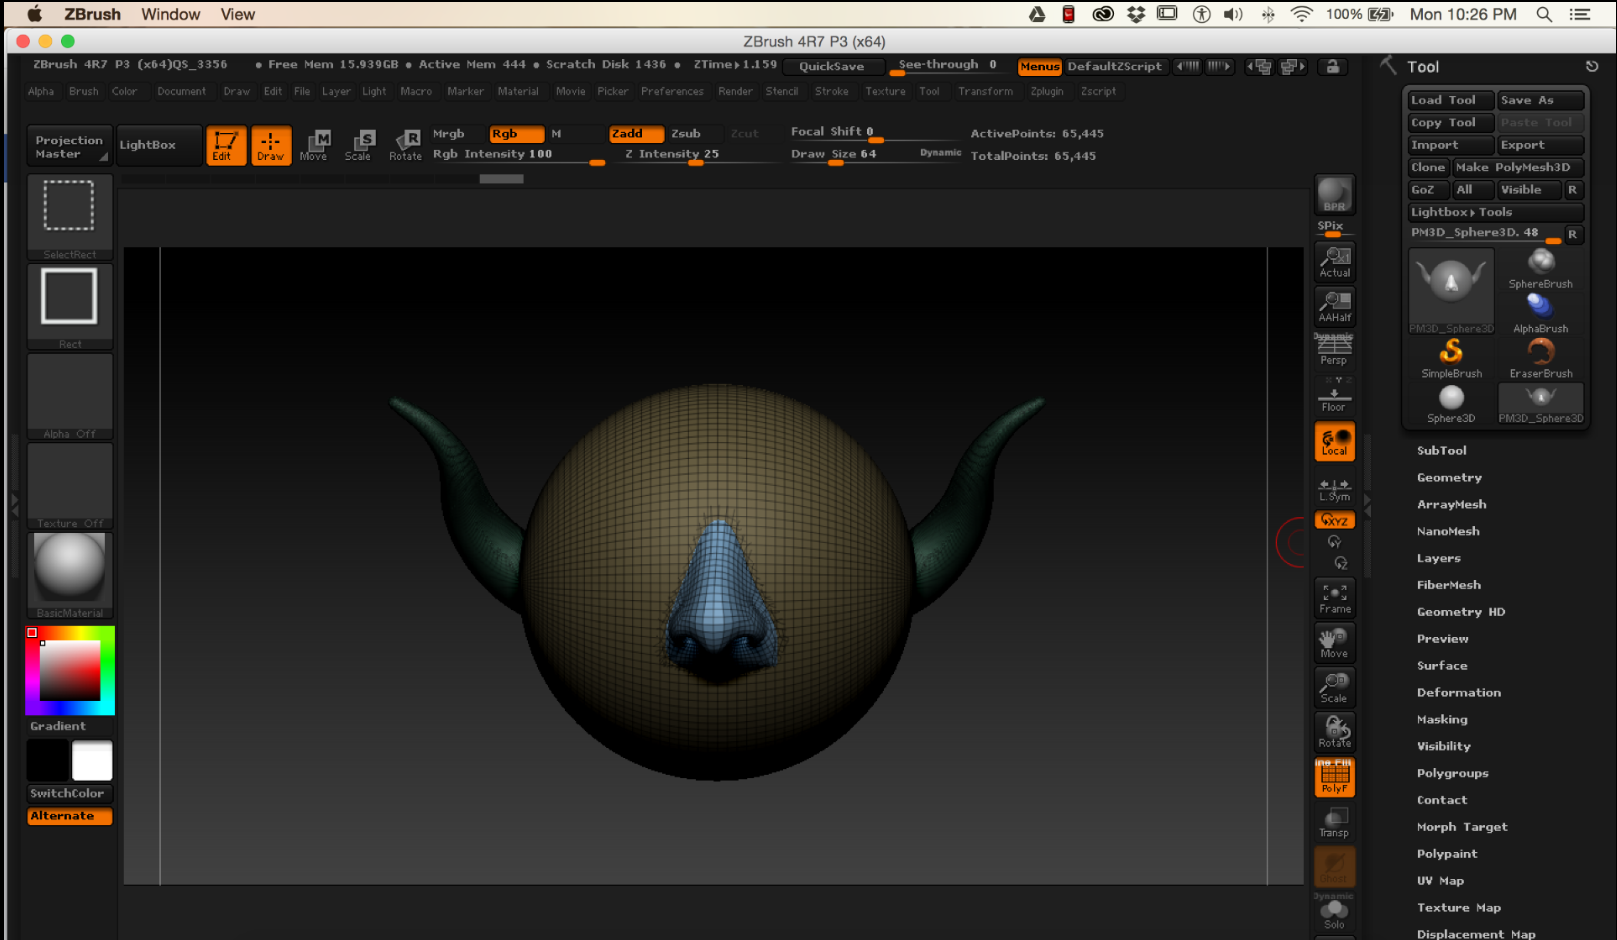
(click on image to see larger)
I hope this helps you and that you were able to learn something!
Till Next Time.
~em